[항해99] 42일차 API설계와 포스트맨 사용법


항해 99

42일차 :
Swagger :
아직 자세히 찾아보진않았지만, Swagger를 통해서 api문서를만들고 문서를 협업할때 쓸수잇어보인다.
Postman
옛날에 Pluralsight 에서 API강의를 볼때 Postman을 이용해서 api 작동을 확인하는것을 보고 그때부터 따라서 썼다.
그땐 그냥 body에 data를 넣어서 보내고 get요청해서 data확인등 간단한 작업만했는데,
지금 찾아보니깐 documenatation해서 pubulish를해서 협업할때 같이 사용할수도있고, header에 jwt token을 넣거나, img file upload를위해서 file에 같이 넣어서 데이터 를 보내는등 여러가지 기능이 있는것같다.
Pluralsight에서도 postman 만 따로 뺴서 강의가있는걸보면, 어느정도 사람들이 많이쓰는 툴인것같으니 배워두는것도 나쁘지않다고생각한다.
https://app.pluralsight.com/library/courses/postman-fundamentals/table-of-contents
Postman Fundamentals
Postman is used by over 3 million developers across the world. This course will show you the fundamentals of Postman, how you can issue requests, create automated API tests, and even document your API with Postman.
www.pluralsight.com
Postman | The Collaboration Platform for API Development
Postman makes API development easy. Our platform offers the tools to simplify each step of the API building process and streamlines collaboration so you can create better APIs faster.
www.postman.com
POSTMAN 사용법
저번에 이어서 test schema 를 이용해서 사용법을 간단하게 설명을해보자.
Schema/test.js
const mongoose = require("mongoose");
const { Schema } = mongoose
const testSchema = new Schema({
    test: { type: String },
    test99: [{ name: String, phone: Number }],
    testId: Number
})

module.exports = mongoose.model("test", testSchema);
CRUD api또한 간단하게
// CRUD
// Read -
// find({})으로 모든 데이터를 가져온다. 그리고 jason으로보낸다.
app.get("/testRead", async (req, res) => {
    const allTest = await Test.find({})

    res.json(allTest)
})

app.post("/testCreate", async (req, res) => {
    const { test } = req.body
    const { test99 } = req.body
    const testcase = await Test.find({})
    const testId = testcase.length + 1
    const testCase = await Test.create({ test, test99, testId })

    res.json(testCase)
})
// Update,   변경할 testId를 param 에서 꺼내와야하기때문에 /:testId가붙는다.
// 변경할것들을 clinet에서body에넣어서 보내준다. 그것을 바다와서 변경한다.

app.put("/testUpdate/:testId", async (req, res) => {

    const { testId } = req.params
    const { test } = req.body
    const { test99 } = req.body
    const update = await Test.findOneAndUpdate({ testId }, { test, test99 })
    res.status(201).send("Test case successfully Updated")
})
// Delete
//update와 비슷하게 testId를 param 에서받아와야하니 /:testId가필요하다.
// 변경내용이없으니 해당testId를찾아서 삭제한다.
app.delete("/testDelete/:testID", async (req, res) => {

    const { testId } = req.params
    await Test.findOneAndDelete({ testId })
    res.status(201).send("Test case successfully Deleted")
})
그럼 포스트맨에서 각각 CRUD를 확인해보도록 하자
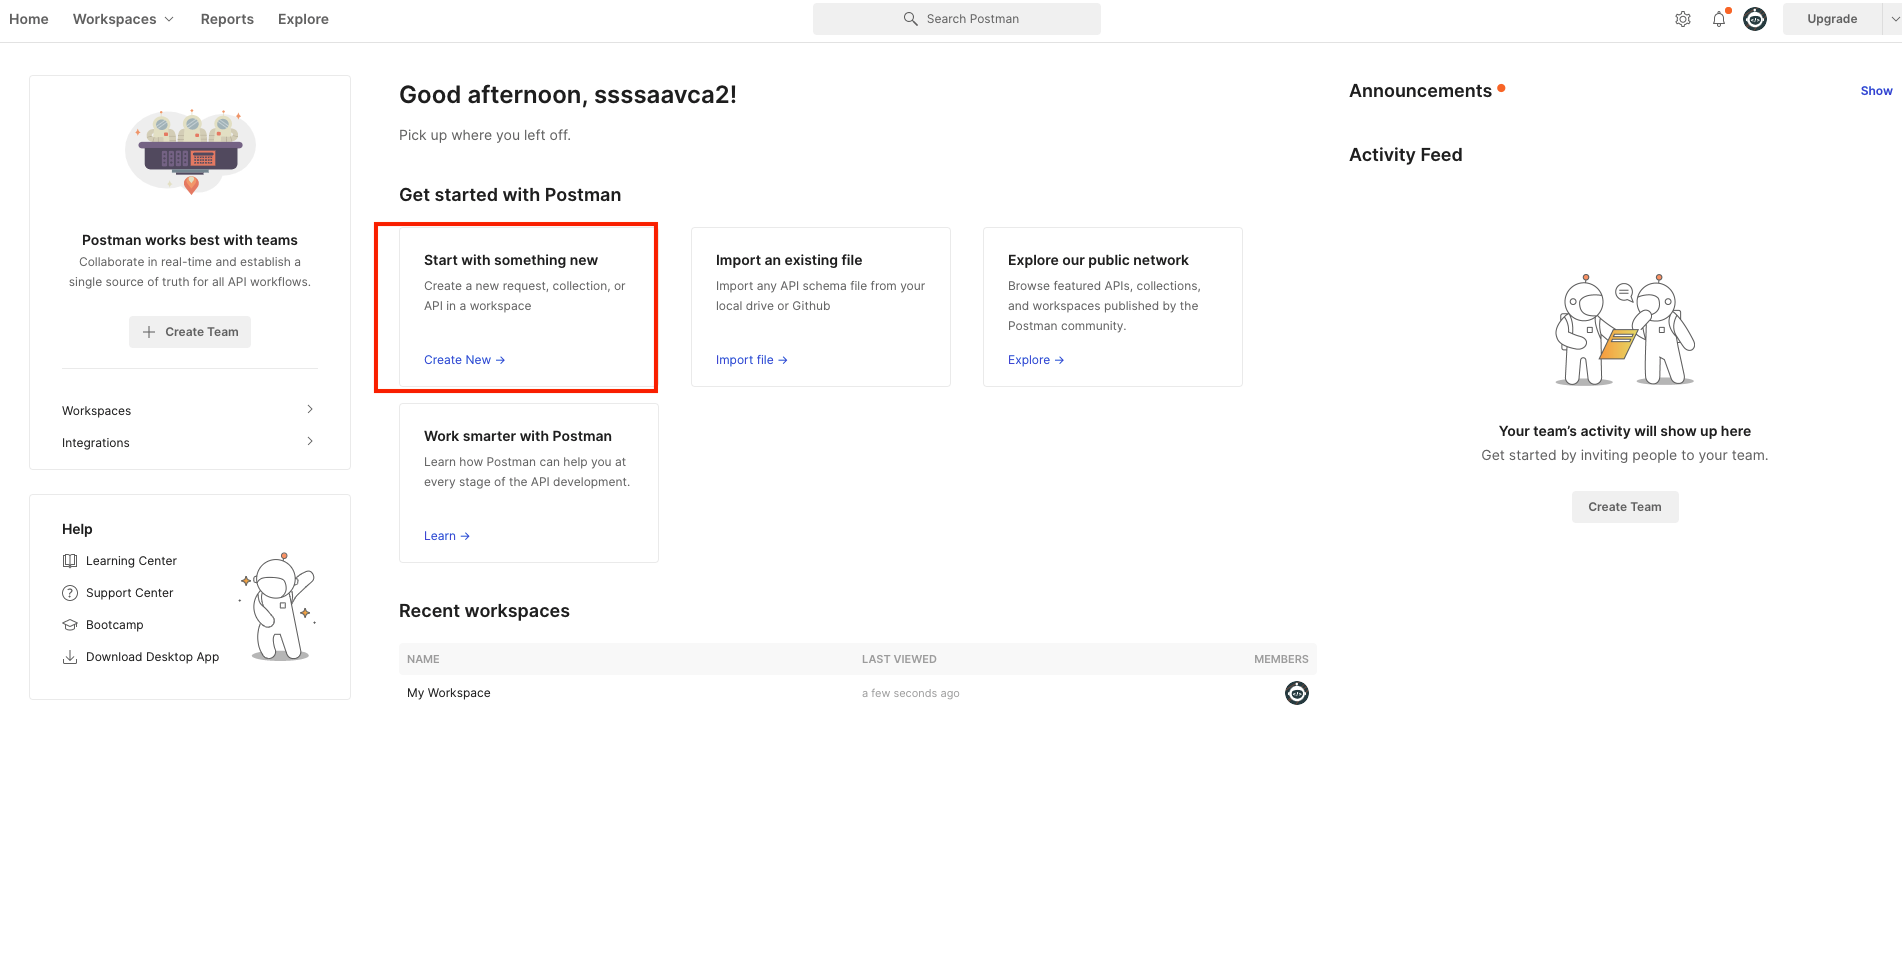
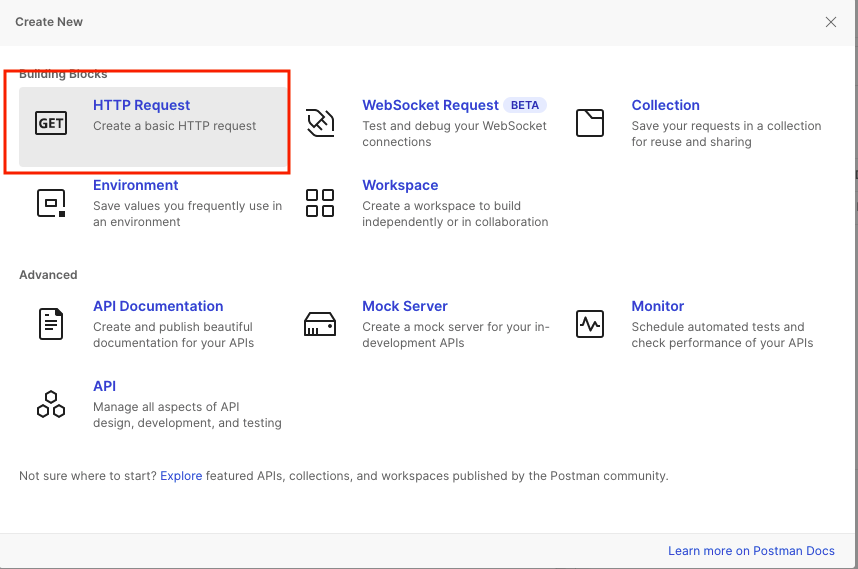
처음 포스트맨에 들어가서 Create New 눌러서 HTTP Request
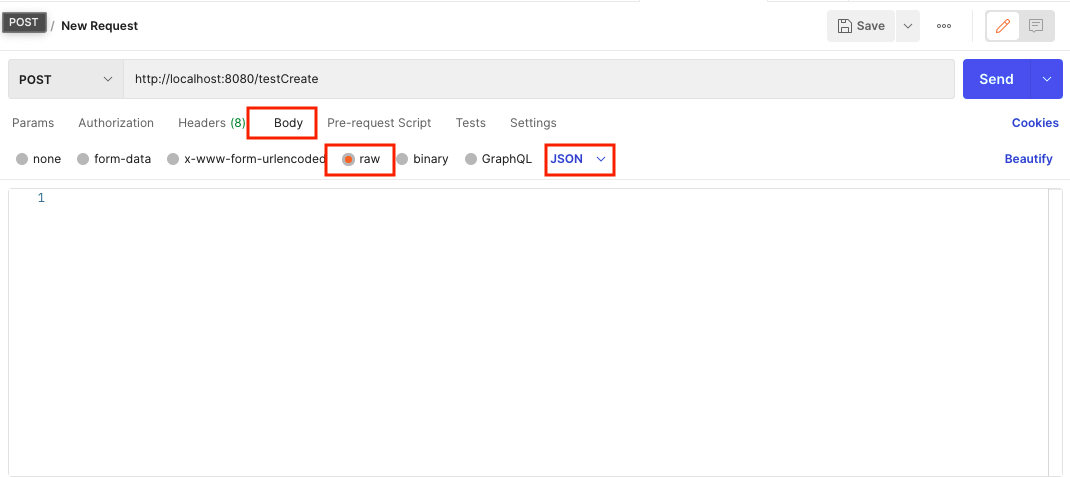
post나put에서 data를 보낼때 body에raw와Json형식을 지정해줘야한다.
위에있는 CRUD api를 documentation으로 아래처럼 만들수있다.
https://documenter.getpostman.com/view/16410236/TzmChDDZ
Test
The Postman Documenter generates and maintains beautiful, live documentation for your collections. Never worry about maintaining API documentation again.
documenter.getpostman.com
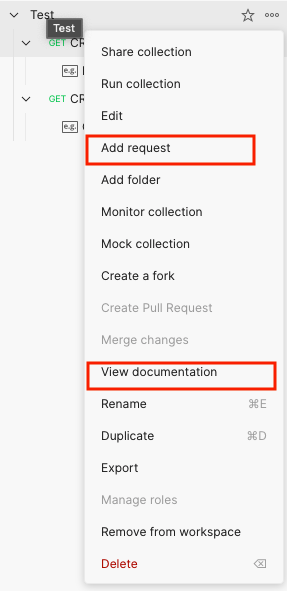
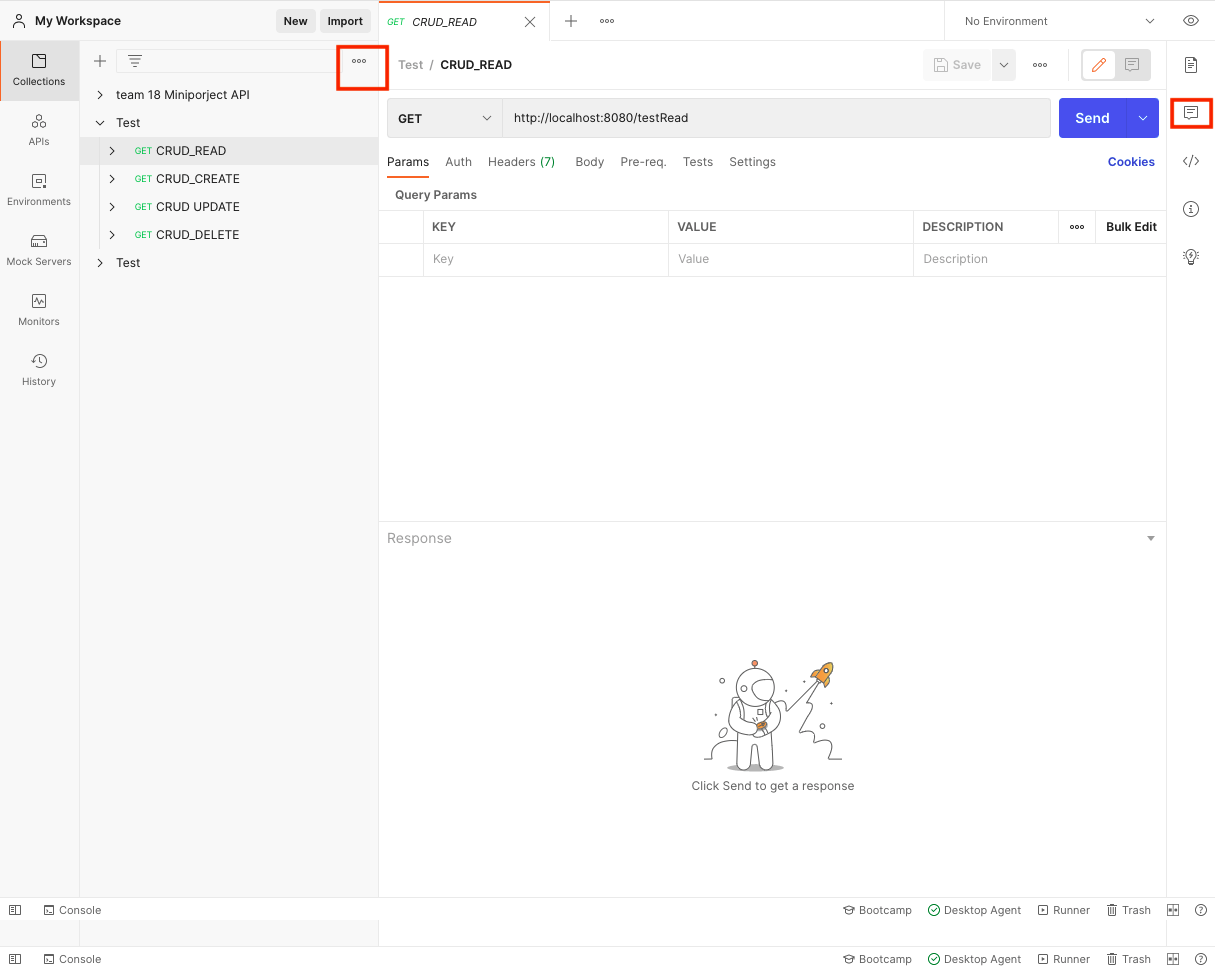
왼쪽 colllection에서 ...을 누루고 view documentatoin을 누루면 documentation형식으로 나온다.
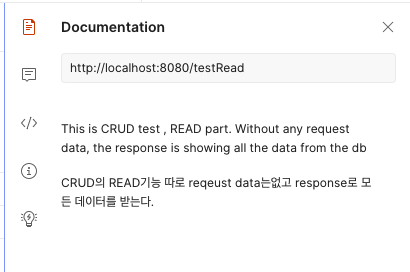
오른쪽에 documentatoin버튼을 누루면 대충 설명같은걸 쓸수있다.
documenation 으로만들어서 pubulish를 하면 api documentation으로 readme 에 붙이거나 , 프론트와협업할때 보여주면서 사용할수있을것같다.
할일 :
- 당근마켓이나, 배달의민족 commit ? git 관리하는거찾아보기
- 이메일 인증
https://bb-library.tistory.com/106
[Node.js] nodemailer로 이메일 인증 구현하기
nodemailer Node.js에서 사용하는 이메일 전송 라이브러리이다. 이번 문서에서는 이메일로 인증코드를 보내 클라이언트에서 해당 인증 코드를 입력하면 회원가입이 계속해서 진행되는 예제를 다룬
bb-library.tistory.com
-callback 함수 사용법
- 동기/비동기 (promise , asynce await)
'IT > Bootcamp 항해99' 카테고리의 다른 글
| [항해99] 44일차 몽구스 populate (0) | 2021.07.21 |
|---|---|
| [항해99] 43일차 API완성 JWT토큰 , populate, ref mongoose (0) | 2021.07.20 |
| [항해99] 40일 & 41일차 클론코딩 (3) | 2021.07.18 |
| [항해99] 39일차 (0) | 2021.07.15 |
| [항해99] 38일차 회원가입 API (0) | 2021.07.14 |